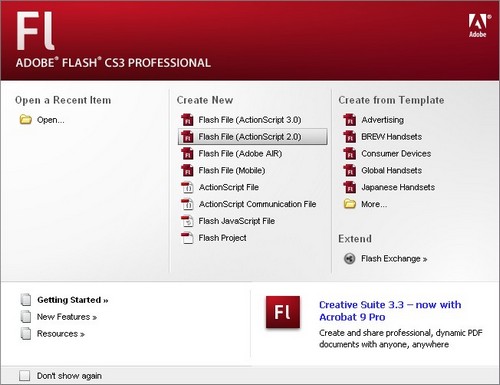
In this paragraph, we will design a template that allows a user to snap in 2 images with text descriptions. You can also apply a fade-in and fade-out transition effect between the two images. The tutorial will show the general design flow and tips using the uCard components. You may click on the link below to view the result page of this template before we start to design:
View the result page here: http://www.youvivid.com/web/preview_new.asp?objid=152
Now follow the steps to design your first MV template:
- Create a new file, being sure to choose ActionScript 2.0 type. The uCard component is based on ActionScript 2.0.

- You can modify document properties by adjusting the dimensions to: 320 x 240 pixels, and frame rate: 24 fps:

- The first frame in the main timeline is used to design the MV's cover page. DO NOT place any visual components (image or text) into the first frame of the main timeline. Now let's start to edit the cover page for the MV template. Insert a keyframe at the first frame of the main timeline and import the image or add text on the first frame for the cover page. As we have completed the cover page, let's add a stop() command in the frame's Actions to ensure the MV movie pauses at the cover page before users hit Play button when viewing in the MV viewer. As a reminder, since MV plays movies from the first frame, you need to consider the seamless animation between the cover page (frame 1) and the successive frames if you are creating a production template.

We’ve now finished the cover page so let’s move on to the next tutorial.
Next: Design with image component
